ServicesWater Softener Installation
Water Softener Installation in Surprise
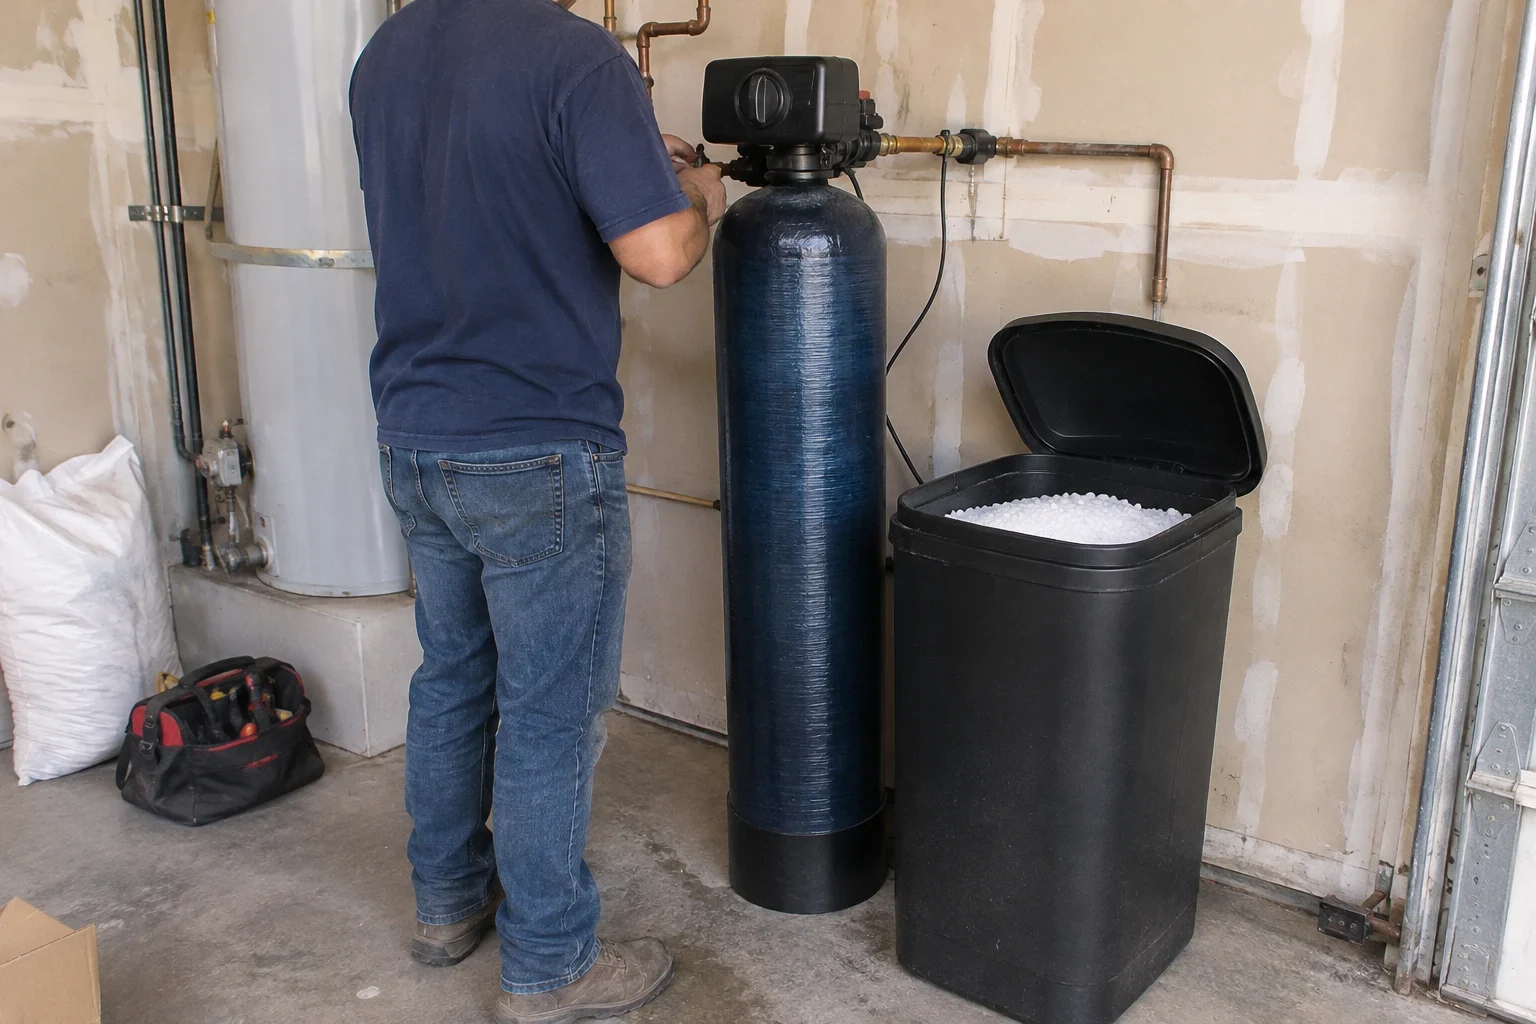
Mineral scale crusts up faucets, clouds your glassware and settles at the bottom of the water heater. We fit a softener to the water your household really uses, plumb it in neatly and program it so salt isn't wasted. Options and cost drivers are explained before we start.
How a softener works and who needs one
A softener holds a bed of small resin beads. As water flows past them, the beads pull out calcium and magnesium and release a little sodium in their place. Those two minerals cause the white haze on shower glass, the grit that clogs faucet aerators and the crust that collects inside your water heater. With them removed, soap lathers with less effort, fixtures stay brighter and appliances that heat water don't have to work as hard.
Most homes in Surprise deal with hard water, which is why a softener pays off for so many of our neighbors. A lot of newer houses were built with a soft water loop near the water heater in the garage, and that keeps the install simple. If your home doesn't have a loop, we'll lay out what adding one takes.
One thing to know up front: a softener is not a filter. It does nothing for chlorine taste or smell. If that's what bothers you, whole-home filtration or a reverse osmosis system for drinking water is the better fit, and we'll say so plainly.
What's part of every installation
Matching the unit to your water use
First we ask how many people live in your home, how many bathrooms you have and how you use water day to day. Those details set the resin capacity, so the unit isn't too small and regenerating all the time, or larger than you'll ever need.
Plumbing it in with a bypass
We tie the softener into your soft water loop or main line with a bypass valve. When the unit needs service, you flip that valve and your faucets and showers keep working as usual.
Drain setup and the salt tank
Each regeneration sends rinse water to a drain, so we run that line with a proper air gap to keep wastewater from ever siphoning back. We then set the brine tank in place, add the first load of salt and check that the float shuts off correctly.
Setting the controls
We enter the hardness level and choose when regeneration runs based on your water and your household. Dialing these in keeps salt and water use sensible.
A quick tour and a clean space
Before we go, we point out the bypass, show you how to add salt and explain what the display means. Packaging, pipe offcuts and scraps go out with us.
Signs hard water is wearing on your home
Chalky rings on faucets
That rough white coating on taps, shower heads and the dishwasher door is mineral scale. Wipe it away and it creeps back within a few days.
How install day goes
- 1
A phone conversation first
You tell us what you're seeing and a bit about your home. We explain the likely options and what drives the cost, so nothing is a surprise later.
- 2
Look at the install spot
On arrival we check the loop or main line, the drain location and the electrical outlet. If anything needs to change, we tell you before we cut a pipe.
- 3
Plumb and set the system
We shut off the water, install the bypass and connect the softener, then run the drain line. Most of your home's water is off only during this part of the job.
- 4
Start up and test the flow
We flush the resin, add salt, run a regeneration cycle and check every connection for leaks. Then we walk you through how it all works.
What sets the cost of your install
We hold off on a number until we understand your home, since a handful of details can change the job quite a bit. These are the ones that matter most. We'll walk through each of them with you on the phone.
- Unit capacity and valve style
- Bigger households need a tank with more resin. A demand-based valve, which only regenerates after a set amount of water has been used, carries a higher upfront price but tends to use less salt and water over time.
- Whether a loop is already there
- When your home has a soft water loop in place, the work is mostly hooking up the unit. Building a loop or rerouting existing pipe means more hours and more parts.
- Where the drain and outlet are
- A drain and an outlet close to the install spot keep labor down. A long drain run, or no power nearby, adds work.
- Taking out the old softener
- Disconnecting and hauling off an existing unit adds some time, more so if the plumbing around it needs fixing.
Water softener installation FAQs
Something not covered here? (623) 303-9042
How long will the installation take?
With a soft water loop already in your home, the job usually wraps up in a few hours. Adding a loop or running a long drain line stretches that out. Tell us about your setup on the phone and we'll give you an honest time window.
Does softened water taste salty?
No. The sodium swapped in for the minerals is a small amount, and most people can't taste it. If you want drinking water with the sodium and minerals removed, a reverse osmosis system under the kitchen sink handles that.
How much salt will I go through?
Your household size and your water's hardness set the pace. A bag or two a month is common for many families. If hauling heavy bags sounds like a chore, our automated salt delivery drops salt at your door on a set schedule.
Will the hose bibs outside be softened?
Usually not. Most soft water loops leave outdoor spigots on regular water, which suits your plants and saves salt. We'll confirm how your plumbing is routed before we start.
Can a softener get rid of chlorine smell?
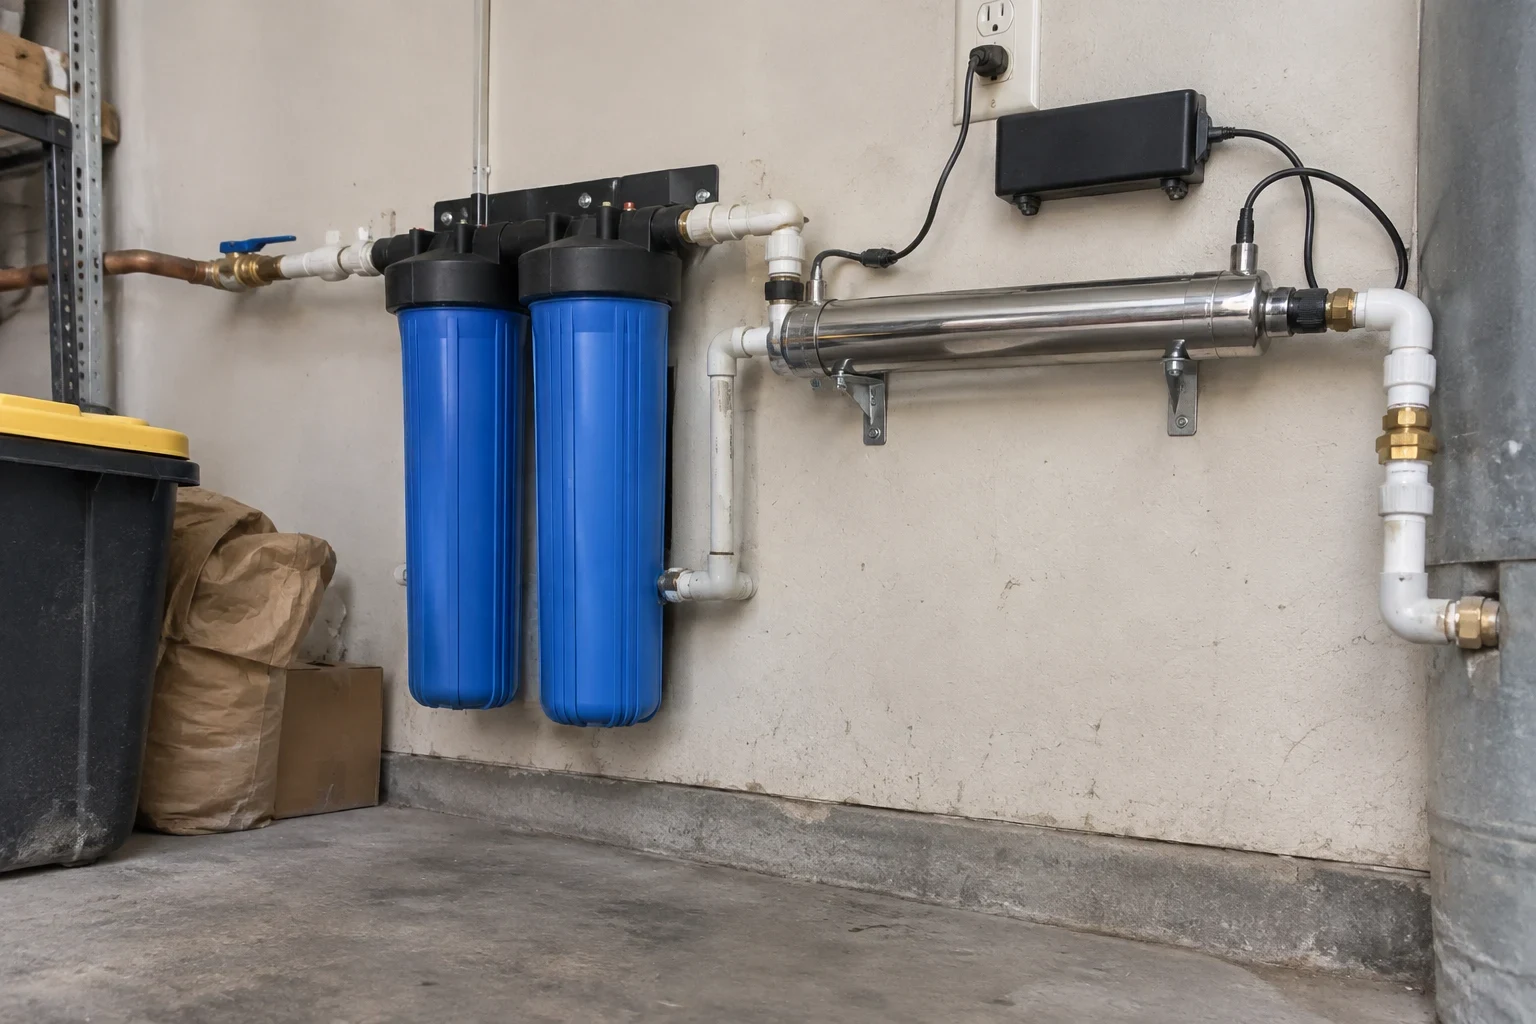
No. A softener only removes hardness minerals. For taste and odor, carbon-based whole-home filtration is the right tool, and it can sit right beside your softener.
Let's get the right softener in your home
Describe what you're noticing and how your home is set up. We'll go over sizing, your options and what changes the price, without the jargon.